Iceland is hard on equipment. Here is what six trips have taught me.
Most camera gear guides for Iceland read like a sponsored product catalogue. This one is different — it is built on six trips across all seasons, on the lenses I wished I had brought, on the filters that earned their place in the bag every single time, and on the small items that make the difference between a productive shoot and a frustrating one.
Iceland’s conditions are specific. Rain, wind, sea spray, glacial dust, and cold that drops battery performance before you have finished setting up — these are not edge cases, they are the default. What works in a studio or on a summer walk in Bavaria does not automatically work here.
Before we get into specifics, one thing worth stating clearly: cameras and lenses are tools. They are built to be used — in real conditions, not just in controlled environments. Mine have been dropped, soaked, and exposed to glacial dust, sea spray, and driving rain across six Iceland trips. With reasonable care and proper maintenance afterwards, nothing has been permanently damaged.
This matters because gear anxiety stops photographers from making images. If you are so worried about your equipment that you hesitate to set up in the rain or put the bag down on wet rock, Iceland will be a frustrating destination. Treat your kit with respect, protect it sensibly, clean it after demanding conditions — and then trust it to do its job.
Lens Guide
Which focal length for which Iceland subject
On full frame vs. crop sensor: these ranges assume a full-frame body. On APS-C, multiply by approximately 1.5 — so a 10–16mm covers similar ground to 16–24mm on full frame, and an 18–35mm behaves like a 27–52mm standard zoom.
Camera Body
I shoot with a Nikon D750 — a full-frame DSLR that has seen Iceland in October rain, March snow, and everything in between. For Iceland, the relevant specifications are weather sealing and sensor performance at high ISO for aurora work.
Weather sealing matters. Iceland’s weather does not give you time to pack your camera away before the rain arrives. A body with at least basic weather sealing — gaskets around the buttons, dials, and card slot — handles the conditions with confidence. A fully sealed body handles them without worry.
Full frame vs. crop sensor: Full frame gives you the low-light performance that aurora and blue hour photography rewards, and the wider field of view at a given focal length that ultra-wide landscape work requires. If you are shooting on a crop sensor body, compensate with a wider lens — 11–16mm on APS-C covers similar ground to 17–24mm on full frame.
Lenses — What I Carry and What I Have Learned
Wide angle — the landscape workhorse
My current wide end is the Nikon 18-35mm f/3.5-4.5. It covers the range that handles most landscape work in Iceland — sweeping coastlines, waterfall foregrounds, interior compositions with sky above.
Honest admission: 18mm is sometimes not wide enough. On a full-frame body, I occasionally miss the ultra-wide perspective that a lens like the Tokina 11-16mm gave me on APS-C. That lens does not cover full frame, and I have not yet replaced it. It is on the list. If you are shooting full frame and want genuine ultra-wide — for aurora compositions, interior lava cave photography, or dramatic foreground-to-sky work — look at options in the 14–20mm range.
Standard zoom — the lens that stays on the camera
The Nikon 24-70mm f/2.8 ED VR is the lens I reach for most often. The f/2.8 aperture earns its weight in low-light conditions, and the focal range covers everything from moderate wide to short telephoto. In Iceland, I use it for landscapes where a wider lens would distort too much, for detail shots of ice and rock texture, and as the default when I do not know what I am about to encounter.
The VR (vibration reduction) matters less on a tripod and considerably more when hand-holding in low light — arriving at a location in darkness with the aurora beginning overhead, you will not always have time to set up the tripod first.
Telephoto — the lens I used to leave behind
The Nikon 80-200mm was the lens I did not bring on my early Iceland trips. I thought of Iceland as a wide-angle destination — big skies, broad landscapes, everything fitting in the frame.
I was wrong.
Telephoto in Iceland does three things that nothing else can. First, it brings wildlife close enough to photograph properly — puffins, Arctic foxes, seabirds on cliffs — without the approach that disturbs them. I learned this the hard way at Reynisdrangar years ago, watching puffins from a distance with no reach to get to them. Second, it isolates elements within a landscape — a single iceberg against a dark sea, a mountain peak emerging from cloud, a detail in a glacier face — that a wide angle renders as a small element in a large scene. Third, it compresses distance and creates relationships between foreground and background that wide angle cannot. The mountain looks bigger. The scale feels different.
Bring your telephoto. Even if you think Iceland does not need it.
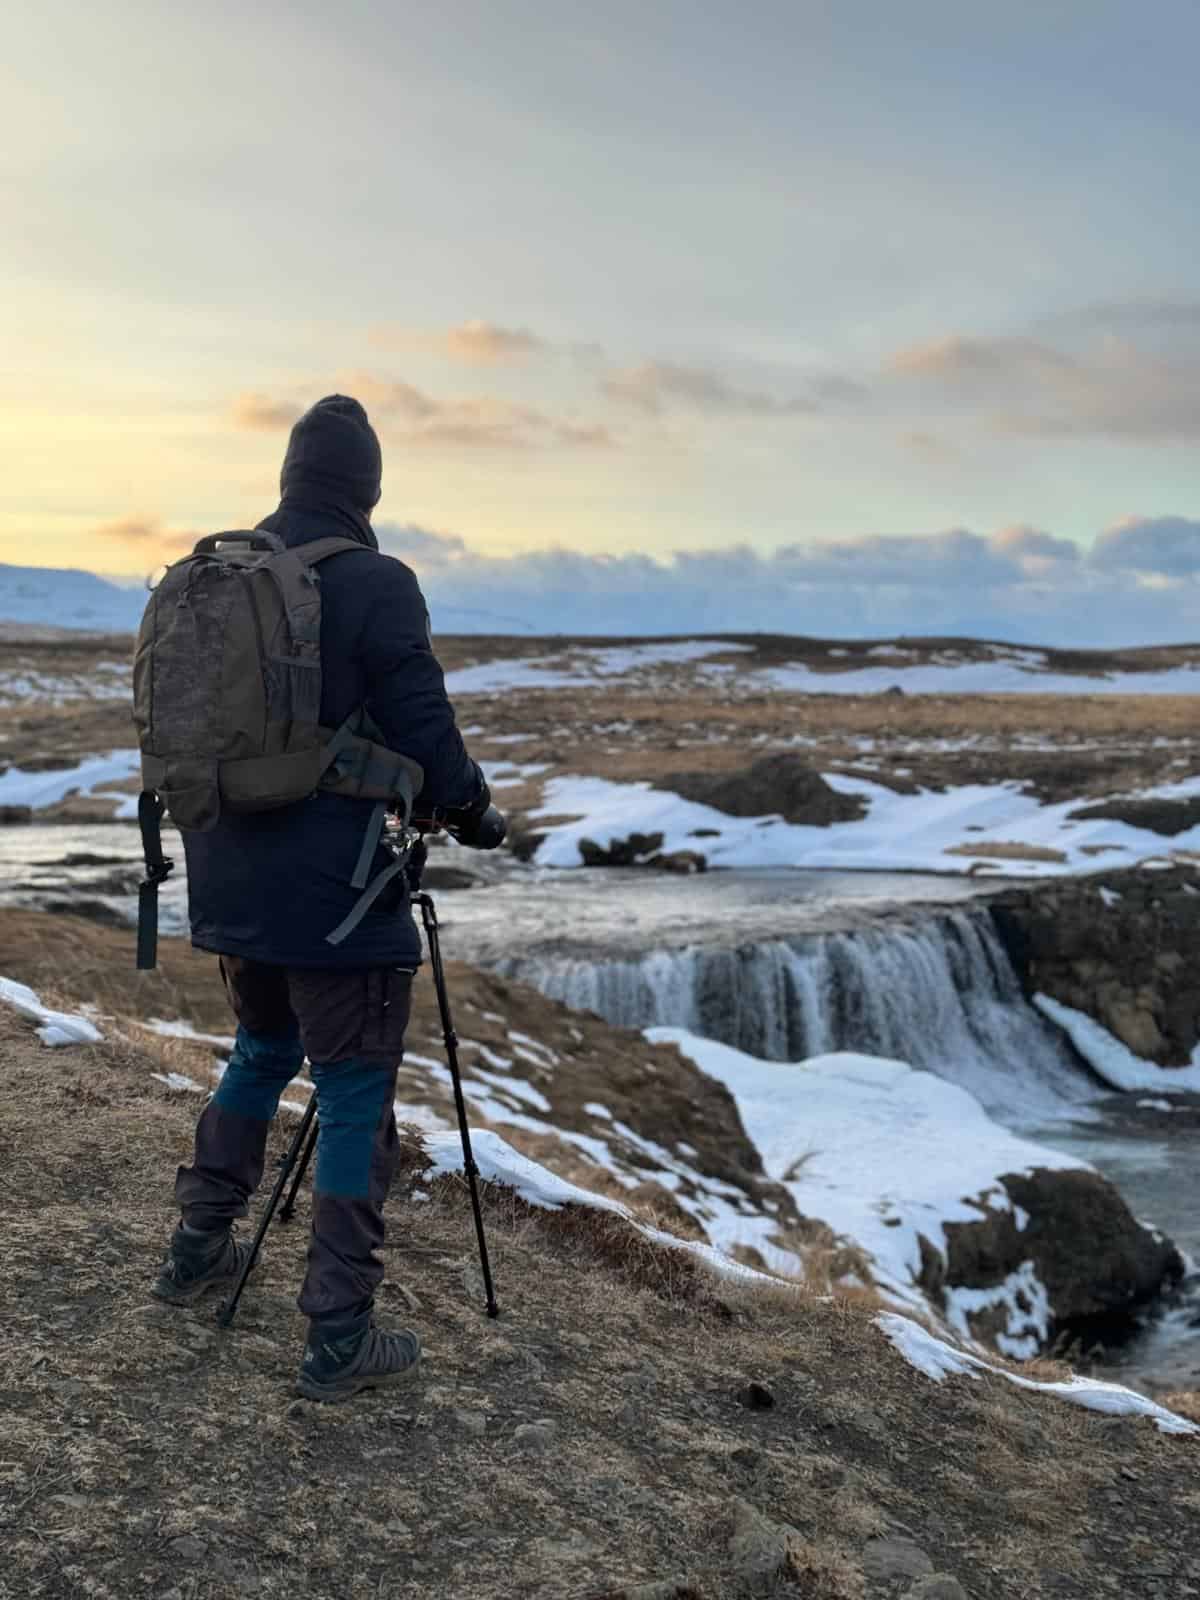
Tripod — Non-Negotiable
I use the Manfrotto Befree Advanced. It is a travel tripod — light enough to carry all day in a backpack, stable enough for most conditions. In Iceland’s wind, a lightweight tripod is tested. I add weight when conditions require it — a bag hung from the centre column, or simply leaning into the wind and keeping exposures short.
For serious winter or coastal work where wind is a constant, a heavier tripod pays dividends. The Befree Advanced hits the right balance for six Iceland trips of mixed conditions. What I would not do is travel to Iceland with a budget tripod that flexes in wind — long exposures of waterfalls and seascapes require absolute stability, and a moving tripod means a soft image.
Quick release plate: Always carry a spare. Losing or misplacing the plate at the start of a trip means the tripod is useless. I keep a spare in the bag permanently.
Remote shutter release: Essential for any exposure longer than 1/60s. Pressing the shutter button introduces camera shake. Use a remote release or the camera’s built-in timer for every long exposure.
Filters
ND filters — earn their place every trip
A neutral density filter reduces the amount of light entering the lens, allowing longer shutter speeds in daylight. In Iceland, this means:
- Waterfalls with silky smooth water rather than frozen spray
- Seascapes with the motion of waves rendered as texture rather than chaos
- Long exposure compositions that turn a busy scene into something still
Filter Guide
Which filter for which situation in Iceland
| Filter | Stops | Use in Iceland | When to reach for it |
|---|---|---|---|
| ND 3-stop | –3 EV | Dawn and dusk waterfall work; golden hour seascapes when light is already low | Overcast, low light — when a stronger ND would underexpose |
| ND 6-stop | –6 EV | The Iceland workhorse. Silky waterfalls in overcast daylight; seascape motion blur; black sand beach wave trails | Most waterfall and coastal work in typical overcast conditions |
| ND 10-stop | –10 EV | Very long exposures in full daylight; turning busy scenes still; extreme wave motion in bright conditions | Sunny days or when you want 60+ second exposures |
| Circular polariser | –1.5 EV | Cutting glare from wet rock and reflective ice; increasing colour saturation in the landscape; reducing surface reflections on water; stacked with ND for waterfall work | Any time surfaces are wet — which in Iceland is almost always |
| No filter | — | Aurora photography (any filter cuts light you cannot afford to lose); wildlife (fast shutter speeds needed); hand-held low light | Night shooting and any fast-action subject |
Stacking tip: A circular polariser (–1.5 stops) combined with a 6-stop ND gives you approximately 7.5 stops of light reduction — useful when you want smooth water but don’t want to swap to the 10-stop. In Iceland’s frequently overcast conditions, this combination handles most waterfall and seascape work without reaching for the strongest filter.
I carry a range — 3-stop, 6-stop, and 10-stop. The 6-stop handles most waterfall work in overcast conditions. The 10-stop is for bright days or very long exposures. The 3-stop is useful at dawn and dusk when light levels sit between the extremes.
Screw-in vs. square system is a personal choice. Square filter systems are more flexible across lenses; screw-in filters are simpler to manage in cold conditions with gloved hands. I use screw-in.
Polarising filter — underrated for Iceland
A circular polariser reduces glare from wet surfaces, increases colour saturation in the landscape, and cuts through the reflections on water that obscure what is beneath. In Iceland, the combination of frequent rain, wet rock, and reflective ice makes it more useful than in most destinations.
It also cuts approximately 1.5–2 stops of light, which extends effective exposure time without adding a separate ND filter. Stack a polariser and a 6-stop ND and you have significant flexibility for waterfall work.
Protecting Your Equipment
Weather protection
Iceland’s rain arrives without warning and leaves without apology. A rain cover for your camera and lens is not optional — it is the difference between a functional kit and a damaged one.
I carry a dedicated camera rain cover that fits over the body and lens. A large zip-lock bag is a reasonable emergency backup. What does not work is hoping the rain holds off.
Sensor and lens cleaning: Iceland’s volcanic dust, sea spray, and general atmospheric particulates find their way onto glass and sensors with remarkable efficiency. Carry lens cloths — more than you think you need — and a sensor cleaning kit if you are comfortable using one. A blower brush handles most dust. Wet sensor cleaning is a last resort but worth having available.
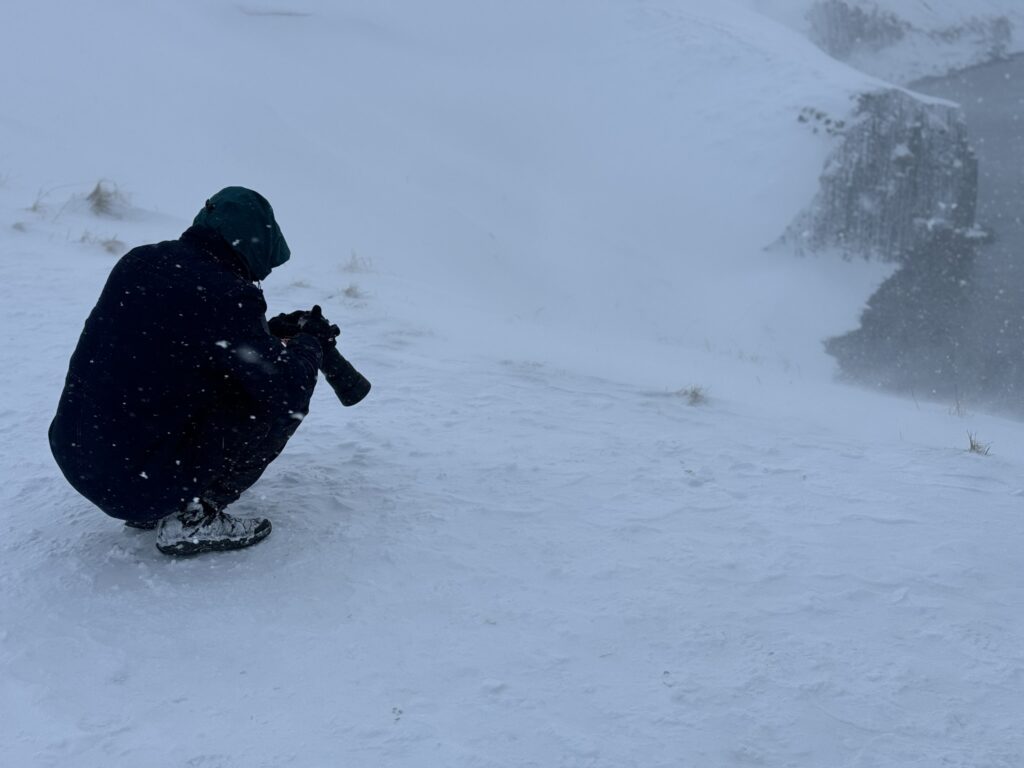
Cold weather management
Cold temperatures reduce battery performance significantly. In winter conditions, a battery that shows 80% charge in warmth can drop to 20% within an hour of shooting in the cold.
Carry a minimum of two batteries per camera body. Keep spare batteries in an inner jacket pocket close to your body — body heat maintains charge better than a cold bag. Charge everything every evening regardless of apparent remaining charge.
Hand warmers in the jacket pocket alongside the batteries add an extra layer of insurance on the coldest days.
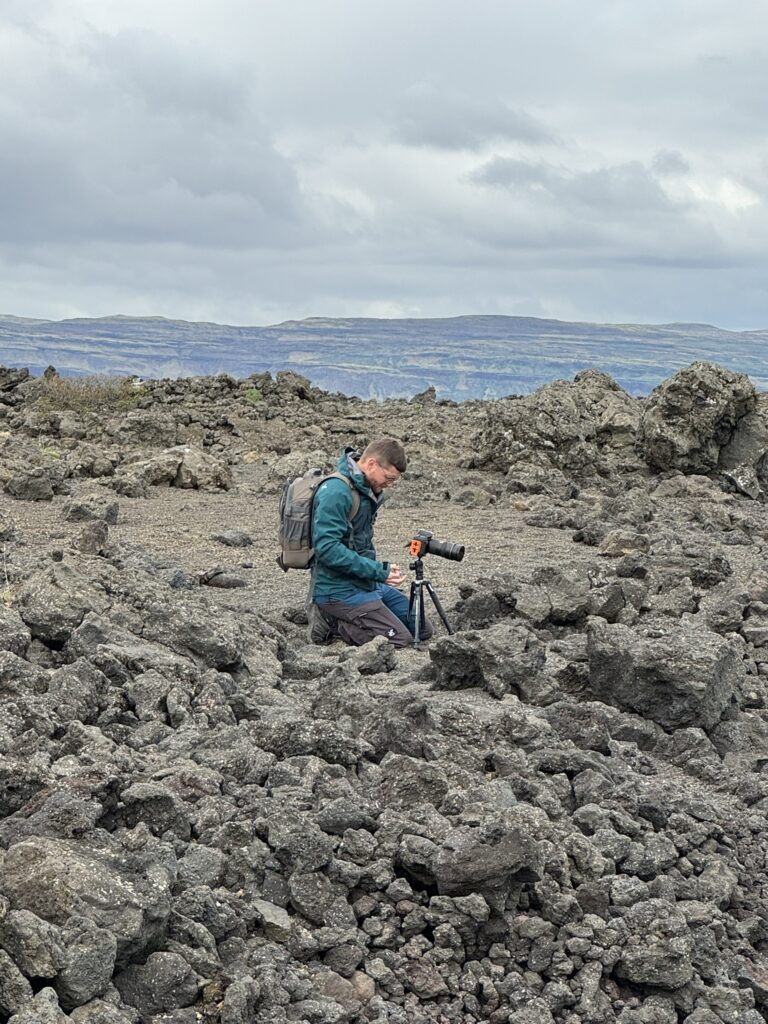
The Camera Backpack — More Important Than You Think
Carrying eight hours of equipment across Iceland’s terrain — through snow, across lava fields, up to cliff edges — is a physical undertaking. The wrong bag makes it painful. The right bag disappears on your back.
I have settled on a photography-specific backpack that balances camera compartment access, general storage for clothing and food, and a carrying system that distributes weight across the hips rather than loading everything onto the shoulders. After a full shooting day in Iceland, the difference between a well-fitted bag and an ill-fitted one is measured in back pain.
What I look for in an Iceland photography bag:
- Weather resistant outer material — not just a rain cover, but a shell that handles sustained moisture
- Quick access to the main camera compartment without removing the bag
- Room for a mid layer, snacks, water bottle, and first aid alongside the camera kit
- Hip belt with enough structure to transfer weight off the shoulders on long carries
- Tripod attachment — carrying the tripod in hand for eight hours is avoidable
The Drone
I fly a DJI drone in Iceland — upgrading to the DJI Mini 5 Pro — and it earns its place in the bag when conditions and regulations allow. The weight-to-capability ratio of the Mini series makes it a practical addition without dominating the bag.
Iceland-specific considerations for drone gear:
- Extra batteries: Standard advice, more important here given cold temperature performance loss
- ND filters for the drone: The same principles that apply to camera filters apply to drone work — smooth waterfall shots and seascape long exposures require the ability to extend shutter speed
- The drone zone map: kort.gis.is/mapview/?app=dronar — check it before every flight
Full drone regulations and practical flying advice are covered in the dedicated Drone Photography in Iceland guide.
What to Leave Behind
A kit that is too heavy to carry comfortably. If the bag is so heavy that you stop walking early or skip a location because you cannot face the carry, the extra lens is costing you more than it is giving you. Iceland’s best locations require physical effort to reach. Your kit needs to be manageable for a full day.
Gear without weather protection. An unprotected kit in Iceland is a damaged kit waiting to happen.
Too many lenses of overlapping focal lengths. The 24-70mm and the 80-200mm cover an enormous range between them. Adding a 50mm prime that overlaps with both adds weight for minimal gain in Iceland’s conditions.
The Honest Gap in My Kit
I currently have no ultra-wide prime for full frame — the gap left by moving from APS-C to full frame and losing the Tokina 11-16mm’s effective coverage. For aurora photography and interior ice cave work, a 14–20mm f/2.8 prime would add something my current kit cannot deliver. It is the next purchase.
I mention this not as a recommendation but as an honest reflection of where a real kit has gaps — and as a reminder that no kit is ever complete. Iceland has a way of showing you exactly what you are missing.
Quick Reference — Iceland Kit List
| Item | Priority |
|---|---|
| Weather-sealed camera body | Essential |
| Wide angle lens (14–24mm full frame) | Essential |
| Standard zoom 24–70mm f/2.8 | Essential |
| Telephoto zoom 70–200mm+ | Essential |
| Sturdy tripod | Essential |
| Remote shutter release | Essential |
| Quick release plate (+ spare) | Essential |
| ND filter set (3, 6, 10 stop) | Essential |
| Circular polariser | Highly recommended |
| Camera rain cover | Essential |
| Lens cloths (multiple) | Essential |
| Spare batteries (2+ per body) | Essential |
| Hand warmers | Recommended for winter |
| Photography backpack | Essential |
| Drone + extra batteries | Optional |
| Sensor cleaning kit | Recommended |