
The technique Iceland was made for
Look through the images on this site — the Reynisfjara sea stacks dissolving into soft grey water, the icebergs at Diamond Beach with the surf smoothed to mist around them, Goðafoss rendered as a continuous band of white, Hvítserkur standing in glass. Nearly every one of them is a long exposure.
That is not a stylistic accident. Iceland’s defining photographic subjects — waterfalls, glacial ice, the Atlantic, fast-moving cloud — are all subjects in motion. Long exposure is the technique that turns that motion into composition: it separates what is permanent from what is moving, and lets the two speak to each other in a single frame.
This guide covers the complete workflow I use for long exposure work in Iceland — the filters, the sequence, the mistakes I made early on so you don’t have to, and just as importantly: when not to use the technique.
This guide is one part of the complete guide to photographing Iceland responsibly — start there if you are planning a first trip.
What Long Exposure Actually Does
A long exposure — anything from half a second to several minutes — records moving elements as blur while static elements stay sharp. In Iceland, that translates into specific, repeatable effects:
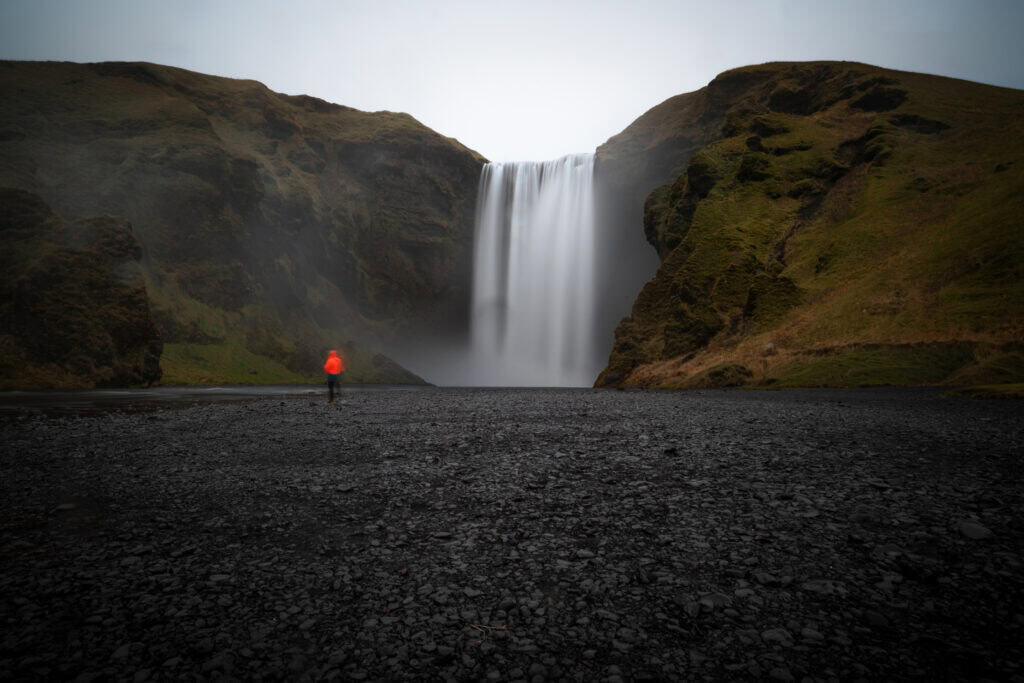
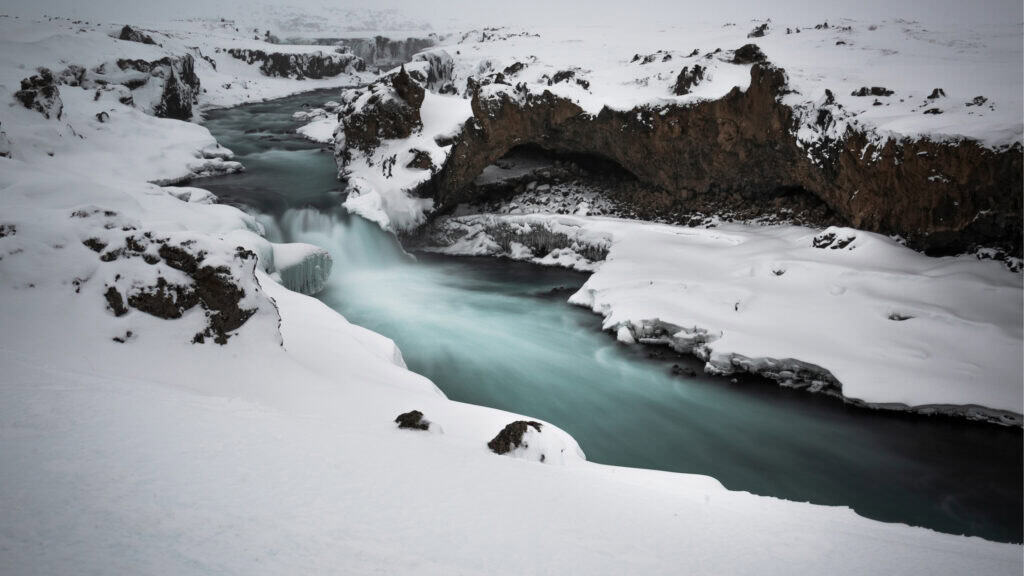
Waterfalls become silk. Between 0.5 and 4 seconds, falling water keeps texture and direction; beyond 15 seconds it becomes a smooth, continuous veil.
The ocean becomes fog or glass. At 30 seconds and beyond, breaking waves flatten into a soft plane — the effect in the Reynisfjara image that served as the marketing photo for my local exhibition, where the Atlantic becomes a quiet grey field between the rocks and the sea stacks.
Drifting ice becomes motion trails. At Jökulsárlón, ice moving through the frame during a 30-second exposure draws soft lines across the water while the static icebergs stay sharp.
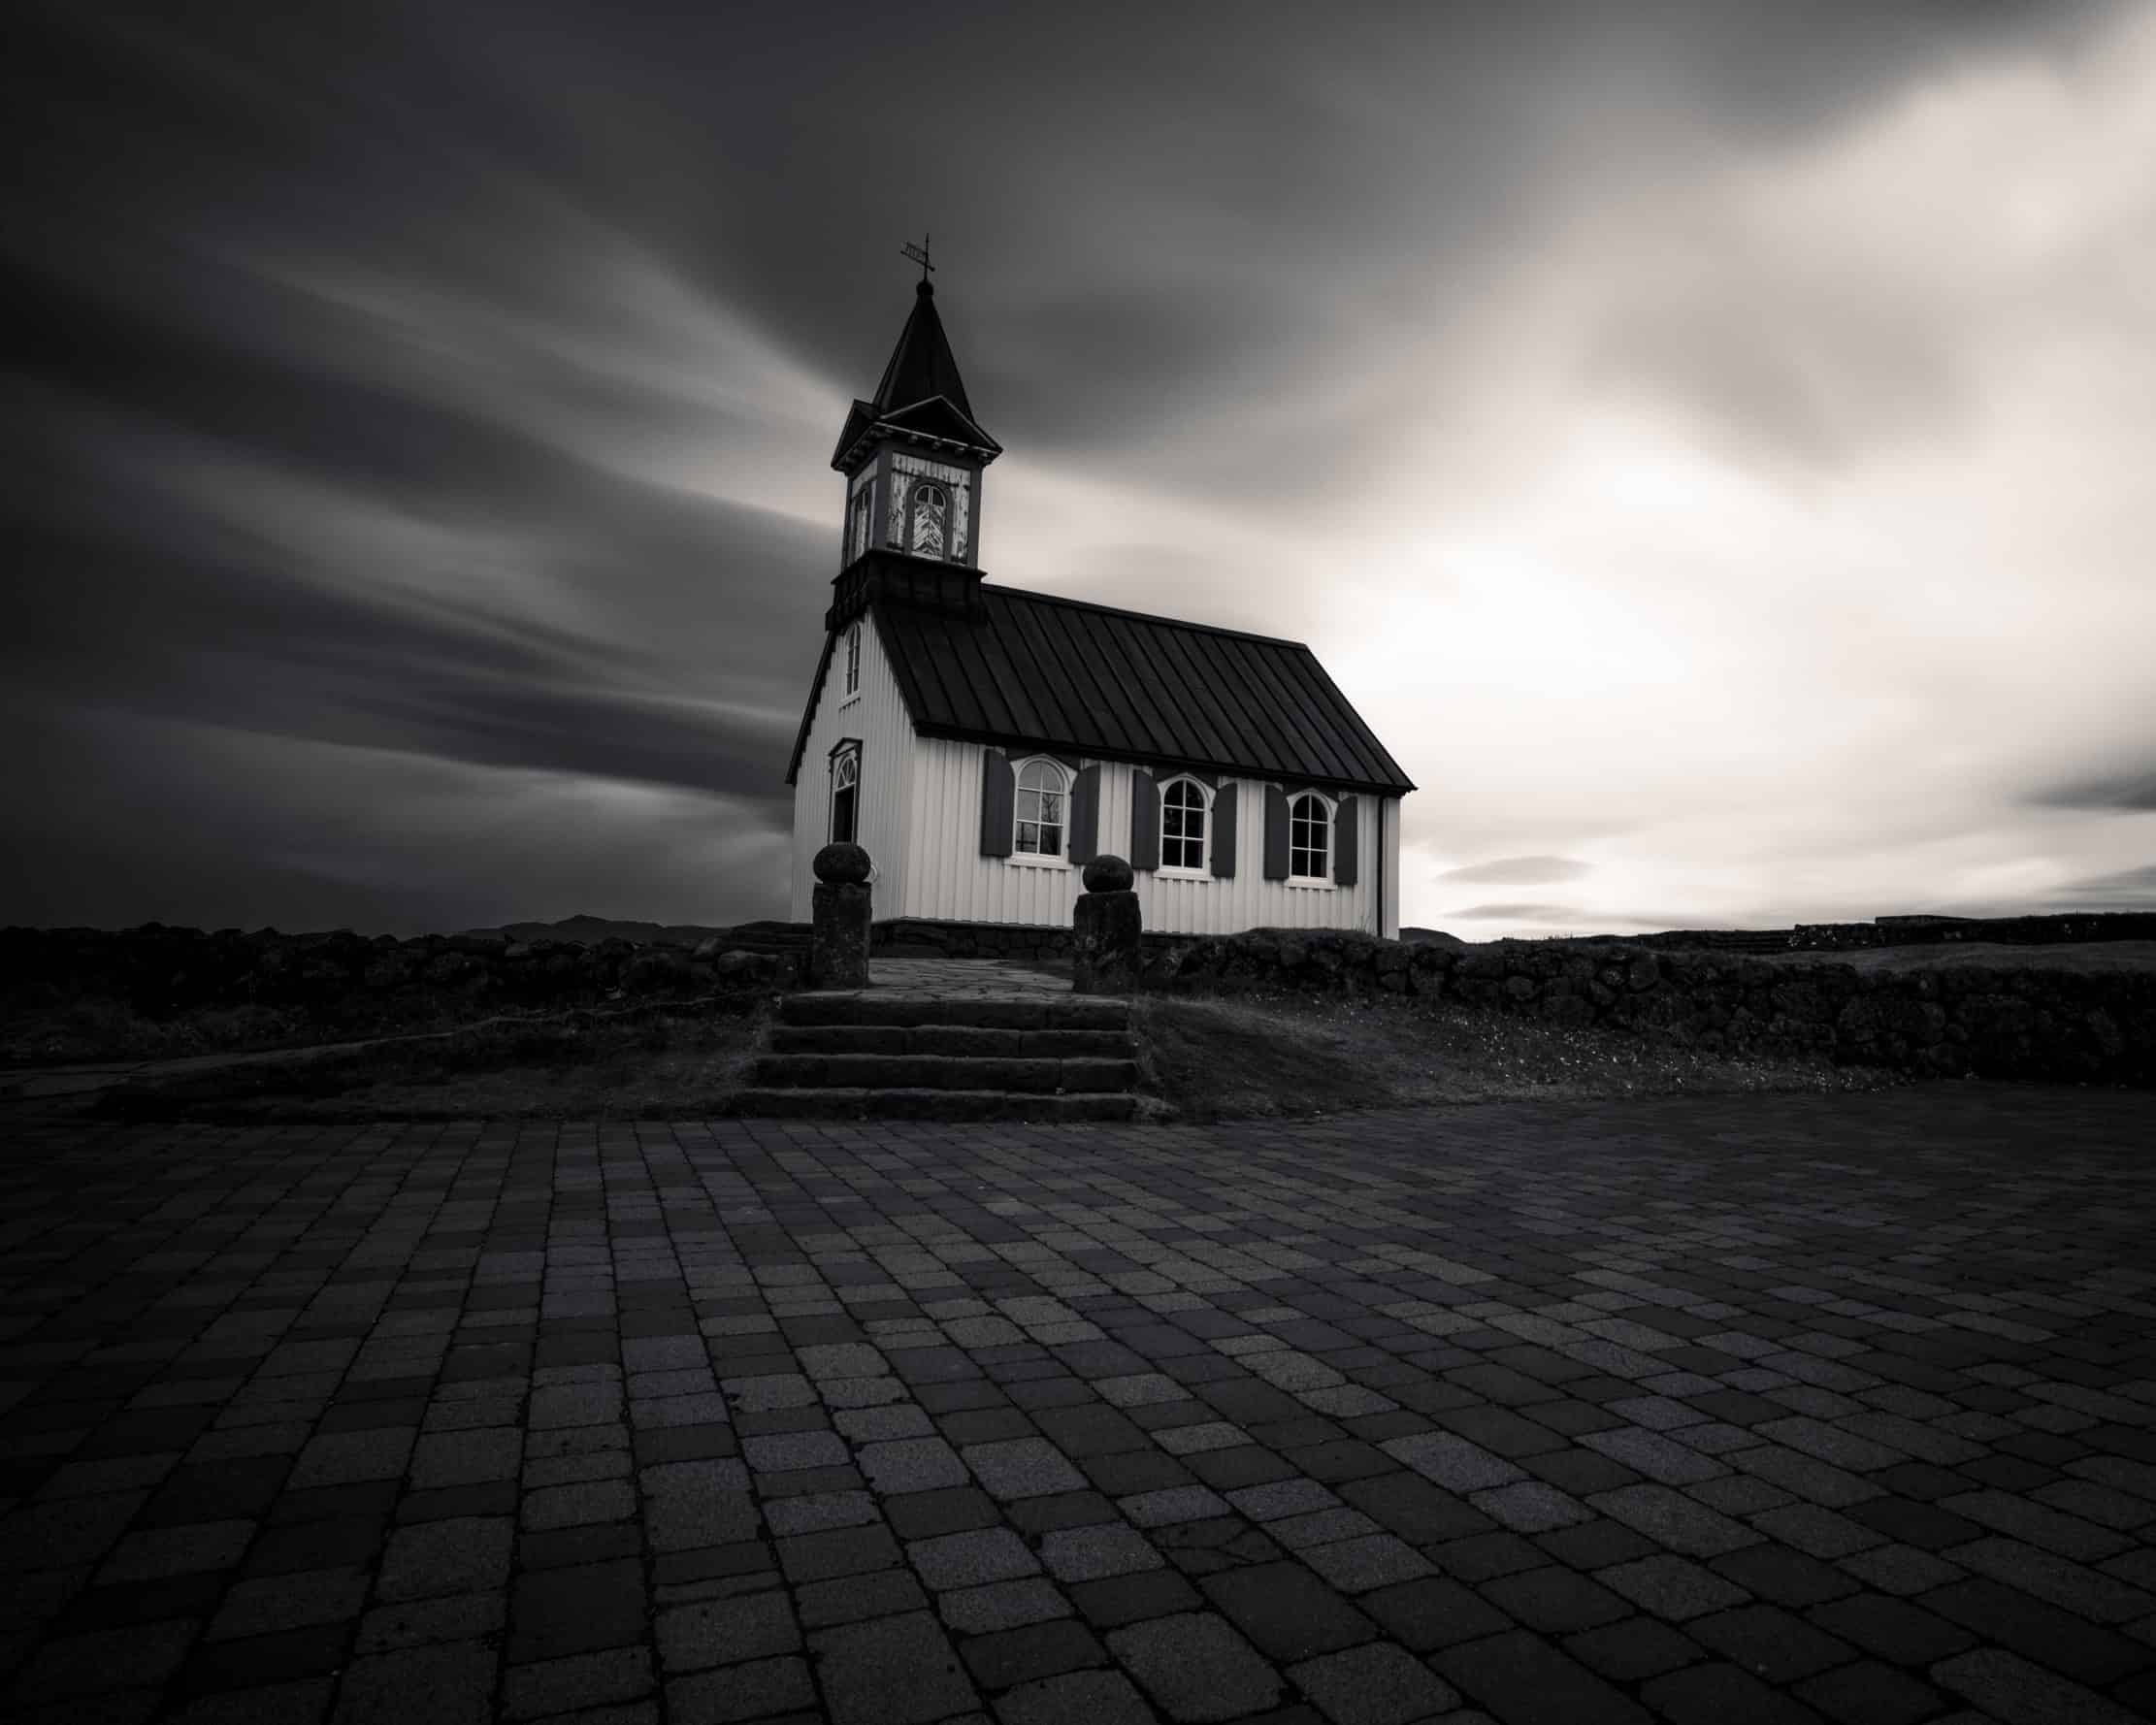
Clouds become movement. With wind and a two-to-four-minute exposure, the sky streaks into directional lines — the effect behind the church in this article’s title image, where the clouds pull the eye toward the building precisely because they are blurred and it is not.
Filter Systems — What Exists Before You Buy
Before choosing specific filters, it’s worth knowing that ND filters come in fundamentally different formats:
Screw-in (circular) filters thread directly onto the lens, one filter per thread size. This is what I use. They’re compact, simple to pack, and cheaper per filter — but stacking two screw-in filters (say, a polariser and an ND) adds bulk to the front of the lens and can cause vignetting at wide focal lengths, and switching quickly between filter strengths mid-shoot means unscrewing and rescrewing each time.
Square or rectangular slot systems (Lee, NiSi, Formatt-Hitech and similar) use a holder mounted to the lens via an adapter ring, into which flat filter plates slide. The advantage: one holder works across multiple lenses with different thread sizes via adapter rings, filters can be swapped in seconds without touching the lens, and graduated ND filters — which fade from dark to clear — can be positioned precisely over the horizon, something a circular filter cannot do. The trade-off is more gear to carry and a steeper cost of entry.
Magnetic systems (newer options like the Kase Magnetic or similar) combine some of both — quick-swap like the slot systems, but built around a magnetic ring rather than a full holder assembly.
For Iceland specifically, where lens fronts get wet with spray and gloved hands are common, quick-swap systems have a real practical advantage. I’ve stayed with screw-in filters mostly because they were the cheaper starting point, and they’ve done everything I’ve needed so far — not because I made a considered choice between systems. If you’re building a kit from scratch, it’s worth weighing the trade-offs I couldn’t be bothered to weigh myself before you commit to one ecosystem.
The Filter Kit
Neutral density filters are the core requirement — they reduce incoming light so that long shutter speeds become possible in daylight.
What I carry:
- K&F Concept filter kit in 82mm: ND8 (3 stops), ND64 (6 stops), ND1000 (10 stops)
- ND8 and ND64 separately in 77mm for lenses with the smaller thread
- Circular polariser in 82mm — reduces glare on wet rock and water, adds roughly 1.5–2 stops of light reduction on its own
- UV filter — primarily as a sacrificial front element in spray-heavy environments like Dettifoss
How I choose: I don’t work with a fixed combination — the situation decides. Overcast waterfall light usually wants the ND64. Bright daylight over water needs the ND1000. Dawn and dusk often need only the ND8, or no filter at all — the fading light does the work itself.
A rough orientation:
| Conditions | Filter | Typical result |
|---|---|---|
| Golden hour / blue hour | None or ND8 | 0.5–5 sec |
| Overcast daylight | ND64 | 5–30 sec |
| Bright daylight | ND1000 | 30 sec – 4 min |
| Bright day + glare on water | ND1000 + polariser | 1–5 min |
Treat these as starting points, not rules — meter, test, adjust.
Filter Reference
Iceland situations — which filter, what result
| Situation | Filter | Typical shutter | Effect on water / sky |
|---|---|---|---|
| Dawn, dusk, blue hour | None | 0.5 – 5s | Fading ambient light does the work. Adding an ND here risks underexposure. |
| Overcast daylight — waterfall or coast | ND64 (6-stop) | 5 – 30s | Smooth water with residual movement. The Iceland workhorse — handles the most common shooting conditions. |
| Bright daylight — waterfall or seascape | ND1000 (10-stop) | 30s – 4 min | Glass-smooth ocean. Very long silk on waterfalls. Clouds streak into motion trails. |
| Any conditions with glare on wet rock or surface water | Polariser only | +1.5 stops slower | Cuts surface glare. Increases tonal separation between wet sand and surf. Most underused filter in Iceland. |
| Dettifoss, Skógafoss — high volume, fast water | No filter | 1/250s – 1/1000s | Frozen chaos — individual water columns visible. The honest image of very powerful waterfalls. |
| Night / aurora — no tripod motion blur | None | 5 – 20s | Any filter removes light you cannot afford to lose. f/2.8 or wider, ISO 1600–3200. |
Stacking — combining filters
The question before every filter decision: does smoothing the motion serve the image? At Dettifoss the answer is usually no — 500m³/s of glacial water looks gentle on a 30-second exposure, which is a false statement about the place. The filter should follow a vision you already have, not replace the need to have one.
The Mistake Section — Learn From Mine
Step-down adapter rings cause vignetting
My filters are 82mm; not all my lenses are. Adapter rings solve the thread mismatch — but when you adapt down to a smaller filter than the lens really wants, the filter edge can enter the frame. The result is a dark ring in the corners, and suddenly your widest focal length is unusable. You end up zooming in just to crop the filter out of the image, which defeats the purpose of carrying a wide angle lens.
If you shoot wide angle seriously: buy filters sized for your largest thread and adapt upward on the smaller lenses. Never the other way around.
Focus before the filter goes on — not after
An ND1000 removes ten stops of light. Through the viewfinder, the scene is close to black; autofocus hunts or fails outright, and even manual focusing by eye becomes guesswork.
The sequence that works: compose, focus precisely, switch to manual focus to lock it, then mount the filter. Every time. The images I lost early on to soft focus were not failures of technique during the exposure — they were failures of sequence before it.
Not everything should be a long exposure
This is the mistake that took me longest to recognise, because it doesn’t look like a mistake — the images are technically clean. Early on, I long-exposed everything by default. Water in frame? Filter on.
But smoothing water always costs something: power. At Dettifoss, Europe’s most powerful waterfall, a silky 30-second exposure makes 500 cubic metres per second look gentle — which is a false statement about the place. A shutter speed of 1/500s that freezes the chaos, the individual columns of brown glacial water tearing over the edge, tells the truth about Dettifoss in a way silk never can.
The question to ask before mounting the filter — ideally before you even set up the tripod: how do I want to capture this scene, and what do I actually see in my mind when I imagine the finished image? Not “can I make this water smooth” but “does smooth water serve what I’m trying to say about this place.” Sometimes the answer is four minutes. Sometimes it is 1/1000s. The technique should serve the vision you already have, not replace the need to have one.
Field Workflow
The sequence — every time, in this order
Before step 1 — the question that actually matters: does smoothing the motion serve what you want to say about this place? At Dettifoss, the answer is often no. At Reynisfjara, often yes. The technique should follow the vision — not replace the need to have one.
The Full Workflow
- Compose and level on the tripod — a stable one; Iceland’s wind is the natural enemy of this entire genre. Hang your bag from the centre column if it has hooks.
- Focus precisely, then switch to manual focus to lock it.
- Meter without the filter — note the correct exposure.
- Calculate the filtered exposure. ND64 = 6 stops = multiply shutter time by 64. ND1000 = 10 stops = multiply by roughly 1000. A 1/60s base exposure becomes ~1 second with the ND64, ~16 seconds with the ND1000. Doing this mentally works once you’ve done it often enough, but apps like LE Calculator (or similar long exposure calculator apps) do it instantly — enter your base exposure and filter strength, get the adjusted shutter speed. Worth having on your phone, especially when stacking a polariser with an ND filter, where the combined light loss gets harder to track in your head.
- Mount the filter carefully — without shifting the focus or zoom ring.
- Cover the viewfinder on long exposures (DSLRs) — stray light entering from behind can fog the frame.
- Trigger with a remote release or 2-second timer. Never with your finger on a multi-second exposure. For exposures beyond 30 seconds — Bulb mode territory, common with the ND1000 in daylight — you need a way to time the exposure manually. A remote release with a built-in timer function is ideal; otherwise, a simple stopwatch or your phone’s timer works, started the moment you open the shutter and used to close it at the calculated duration. Losing track of elapsed time in the cold and dark is an easy way to ruin an otherwise perfect frame — know your target duration before you start counting.
Multi-minute Bulb exposures in cold conditions drain batteries noticeably faster than normal shooting — carry a spare, and keep it warm in an inner pocket rather than in a cold camera bag. Breathing near the filter while you work — checking settings, leaning in to read the display — can fog the glass from the inside in freezing temperatures. Step back to check anything that requires you to lean close, and give the filter a moment to clear before continuing. - Check the histogram, not the preview. Filtered exposures often need +1/3 to +2/3 correction — dense ND filters can meter slightly dark, and some add a mild colour cast that RAW handles easily in post.
Wind — The Long Exposure Killer
More long exposures fail because of wind than because of any filter or focus mistake. A multi-minute exposure amplifies the smallest vibration into visible blur across the entire frame — and Iceland is reliably windy almost everywhere that makes a good composition.
Weight the tripod down. Hang your camera bag from the centre column hook if your tripod has one; if not, loop the strap around one of the legs near the ground. This lowers the centre of gravity and adds resistance against gusts.
Keep the tripod low. Every extended leg section and raised centre column adds leverage for the wind to work with. If conditions are rough, shoot from a lower height than you’d prefer rather than fighting a fully extended tripod.
Position yourself as a windbreak when the composition allows it — standing slightly upwind of the tripod, without entering the frame, can measurably reduce vibration on gusty days.
Check the frame edges after gusty exposures, not just the centre — a bridge, boardwalk, or viewing platform (footbridges are common at several Icelandic waterfalls) transmits footfall and wind-sway through the structure itself, independent of what your tripod is doing. If you’re shooting from one, brace for a few seconds after anyone moves nearby, and avoid trigger-pressing exposures started the moment someone steps onto the same platform.
When it’s genuinely too windy, shorten the exposure rather than abandoning it. A 2-second exposure that keeps some blur intentional often survives wind that would ruin a 4-minute one. Windy conditions are one of the legitimate reasons — alongside the Dettifoss example earlier in this guide — not to reach for the strongest filter by default.
Check Windy before committing to a long exposure session at an exposed location — the Weather & Planning Tools guide covers this in more detail.
Focus Stacking — When One Focus Point Isn’t Enough
Long exposure foregrounds in Iceland are often very close — ice fragments at Diamond Beach half a metre from the front element, wet pebbles at Reynisfjara, basalt at Hvítserkur. At wide apertures, or even at f/11 with a subject this close, front-to-back sharpness across the whole frame is physically impossible in a single exposure.
Focus stacking solves this: several exposures at identical settings, focused progressively from foreground to background, blended in post-processing. For long exposure work it means repeating the full filtered exposure two or three times with the focus ring moved between frames — time-consuming with a 30-second exposure, but the only way to get a razor-sharp ice fragment and a sharp horizon in the same final image.
Practical notes: shoot the stack in stable light (the technique struggles when a sunset is changing by the minute), keep the tripod absolutely untouched between frames, and refocus by moving only the focus ring — never the zoom. Blending happens later in Photoshop or dedicated tools; a full walkthrough belongs to the upcoming post-processing article.
Where This Technique Lives on This Site
Every image below is a long exposure, and every location has its own full guide:
- Reynisfjara — the exhibition image: rocks framing the sea stacks, ocean smoothed to grey
- Jökulsárlón & Diamond Beach — ice on black sand, surf as mist, the sunset that never repeated itself
- Goðafoss — the horseshoe as a continuous band of white, from the water-level position most visitors skip
- Hvítserkur — high tide, black and white, the rock floating in glass
- Snæfellsnes / Grundarfoss — dual falls in a basalt canyon, autumn colour in the foreground
If you want to see what a given shutter speed feels like at a real location, those articles are the reference material.
Black sand and an incoming tide are the classic setup — the beach at Stokksnes is where this works best in Iceland.
A Safety Note Specific to This Technique
Long exposure work at the coast means standing in one position for anywhere from thirty seconds to several minutes, often with your eye at the viewfinder or your attention on the display rather than on the water behind or beside you. This is precisely the situation the Reynisfjara guide warns against: never turn your back to the ocean, and never let your attention lock onto the frame for longer than you can also track the surf.
In practice, this means checking the water between exposures, not just before you start — a wave pattern that looked safe when you set up the tripod can change over the course of several long exposures. If you’re working a coastal long exposure alone, glance at the ocean every time you check your histogram. It costs you nothing and it is the single habit that matters most for this specific kind of shooting.
A bright moon on snow or pale sand can light an entire scene well enough to shoot a long exposure with no artificial light at all — check moon phase and moonrise before a night session → Iceland Moon Calculator.
Leave No Trace — The Long Exposure Edition
Long exposure photography has a specific environmental footprint worth naming: you stay in one spot, longer, with more equipment.
Set the tripod on rock, sand, or established ground — never on vegetation. A tripod planted in moss for a four-minute exposure, repositioned three times, does more damage than a dozen walking footsteps.
Multi-minute exposures are not a reason to wander. Stay with your camera — both for the gear’s sake in wind and spray, and because an unattended tripod at a clifftop or shoreline is a hazard to other visitors.
The perfect foreground does not justify leaving the path. The composition available from the marked route is the composition. This site’s Leave No Trace guide applies at 1/1000s and at four minutes equally.
Further Reading
- Camera Gear for Iceland — the full kit behind this workflow
- Leave No Trace in Iceland
- Weather, Wind & Planning Tools — wind forecasting, the deciding factor for tripod work
Sources
Veðurstofa Íslands (Icelandic Meteorological Office) — vedur.is